Straight leg kickbacks look like a small glute exercise, and they are a good one to learn early. You lift one leg from the hip while the rest of your body stays still.
That is the whole point. The glute of the lifted leg does the moving work and the hamstrings help, while your deep belly muscle braces so your back stays flat and your hips stay level.
Quick Facts: Straight Leg Kickbacks
- Equipment needed: None (optional: a mat or folded towel under your knee)
- Difficulty: Beginner
- Modality: Bodyweight strength
- Body region: Hips and core (glutes, hamstrings, transverse abdominis)
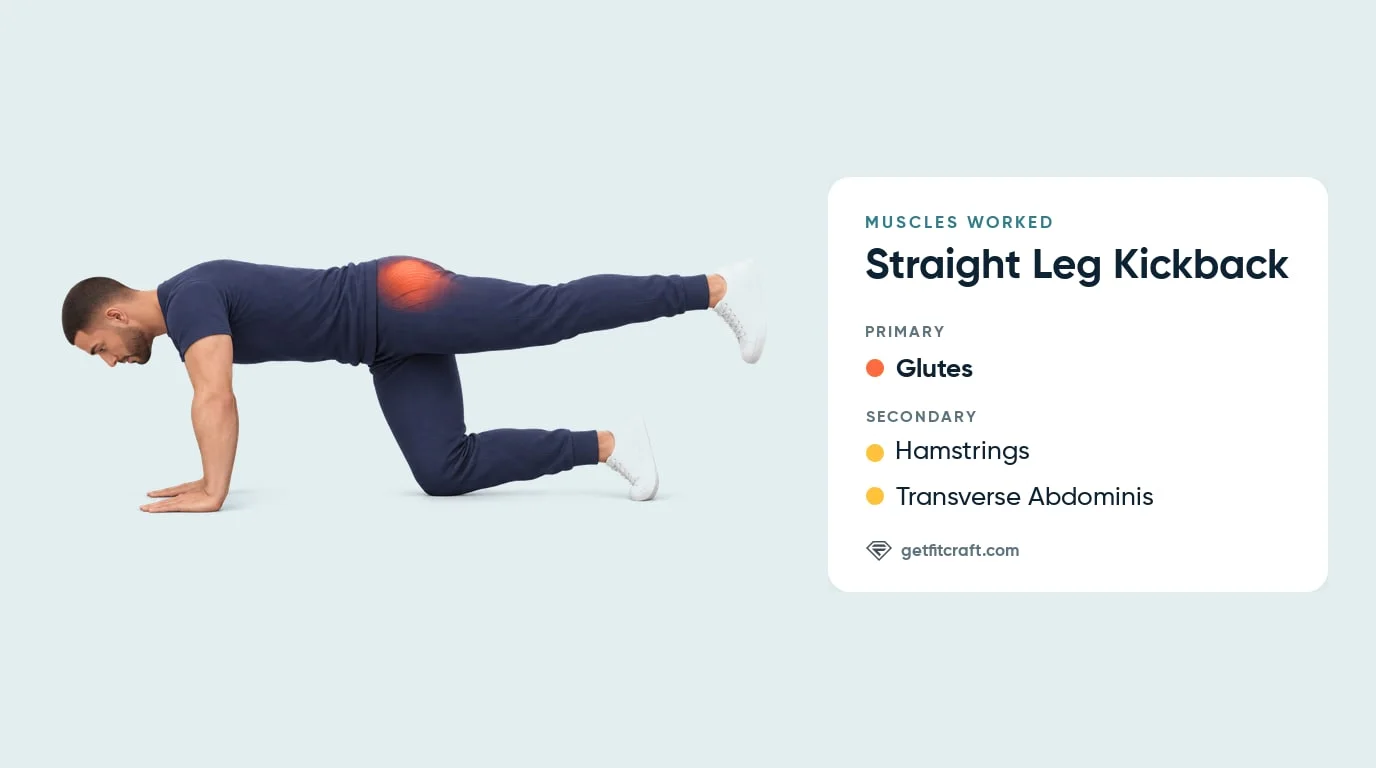
Muscles Worked
Primary muscle: the glutes of the leg you lift. They straighten the hip to lift the leg back behind you, and they control the leg on the way down, especially if you pause instead of swinging.
Secondary muscles: the hamstrings, on the back of the same thigh, help the glute straighten the hip and keep the knee long. The transverse abdominis, the deep belly muscle that wraps around your trunk, braces so your back stays flat and your hips stay level while the leg moves.
Mechanism: the straight leg is a longer lever than the bent-knee version, so it is harder to control. If the leg goes higher because your lower back arches, the lift has stopped coming from your hip. Lift only as high as your back stays flat and both hips stay level and facing the floor, which is about hip height.
Step-by-Step: How to Do a Straight Leg Kickback
- Set up on your hands and knees. Kneel on all fours on a mat with your hands flat directly under your shoulders, fingers pointing forward, and your knees under your hips, about hip-width apart. Keep your head in line with your spine, with your eyes on the floor just ahead of your hands.
- Brace before you lift. Brace your abs so your back is flat, like a tabletop, and keep both hips level and facing the floor. Tip: move only at the hip and keep your back still.
- Lift one straight leg. Keep one knee and its toes on the floor and lift the other leg straight back, the knee straight or only softly bent, until the leg is about level with your hips and in line with your back. Stop before your lower back arches or the working hip rolls up toward the ceiling.
- Pause at the top. Pause briefly and squeeze the glute of the lifted leg. The pause should feel controlled, not like you are hanging on your lower back.
- Lower with control. Lower the leg until the foot is just above the floor, or stop a little higher, without resting it, then lift again. Breathe out as you lift, breathe in as you lower, and complete all reps on one side before switching.
Get this exercise in a personalized workout
FitCraft, our mobile fitness app, uses its AI coach Ty to program mobility work like this into your plan at the right volume and intensity, based on your level, goals, and equipment. Ty was designed and trained by Domenic Angelino, MPH (Brown University) and NSCA-CSCS, with research published in the Journal of Strength and Conditioning Research and Medicine & Science in Sports & Exercise.
Take the Free Assessment Free • 2 minutes • No credit card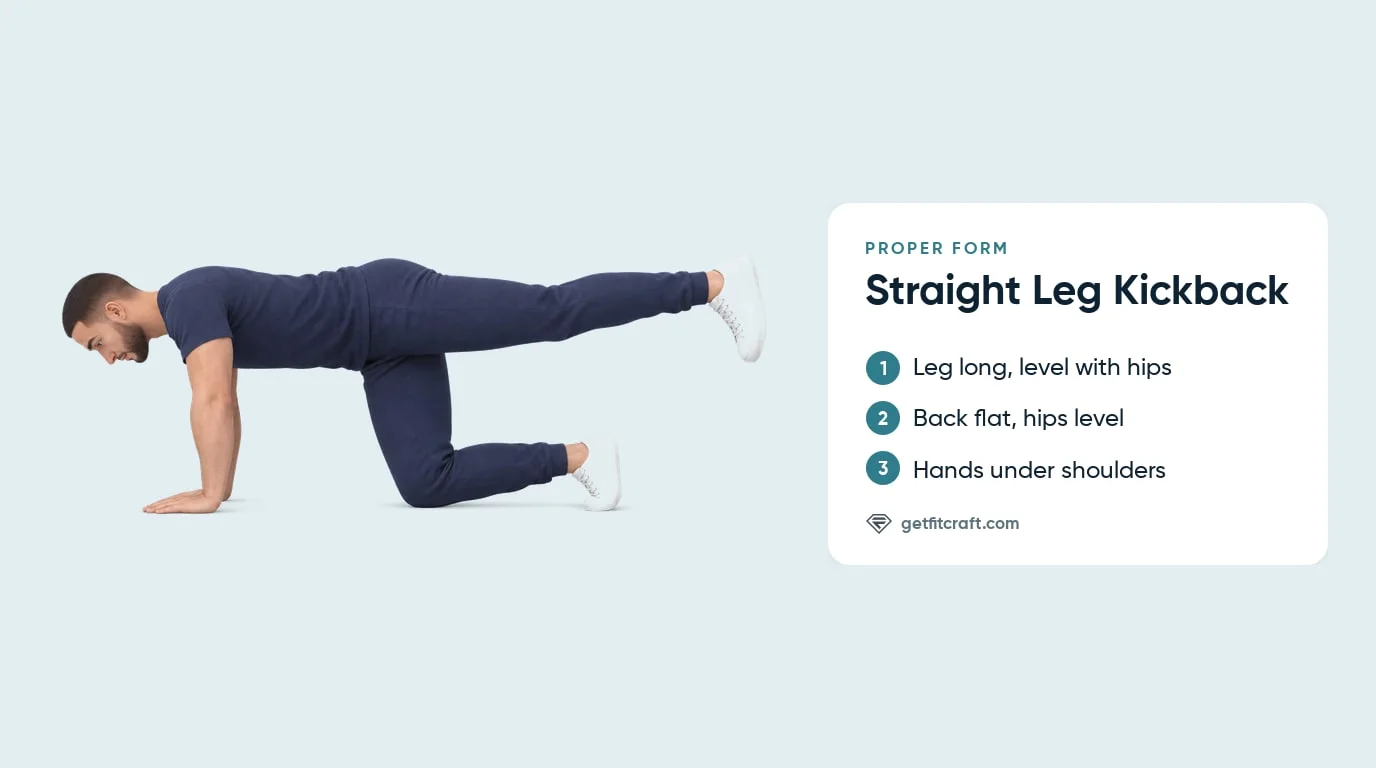
Common Mistakes (and How to Fix Them)
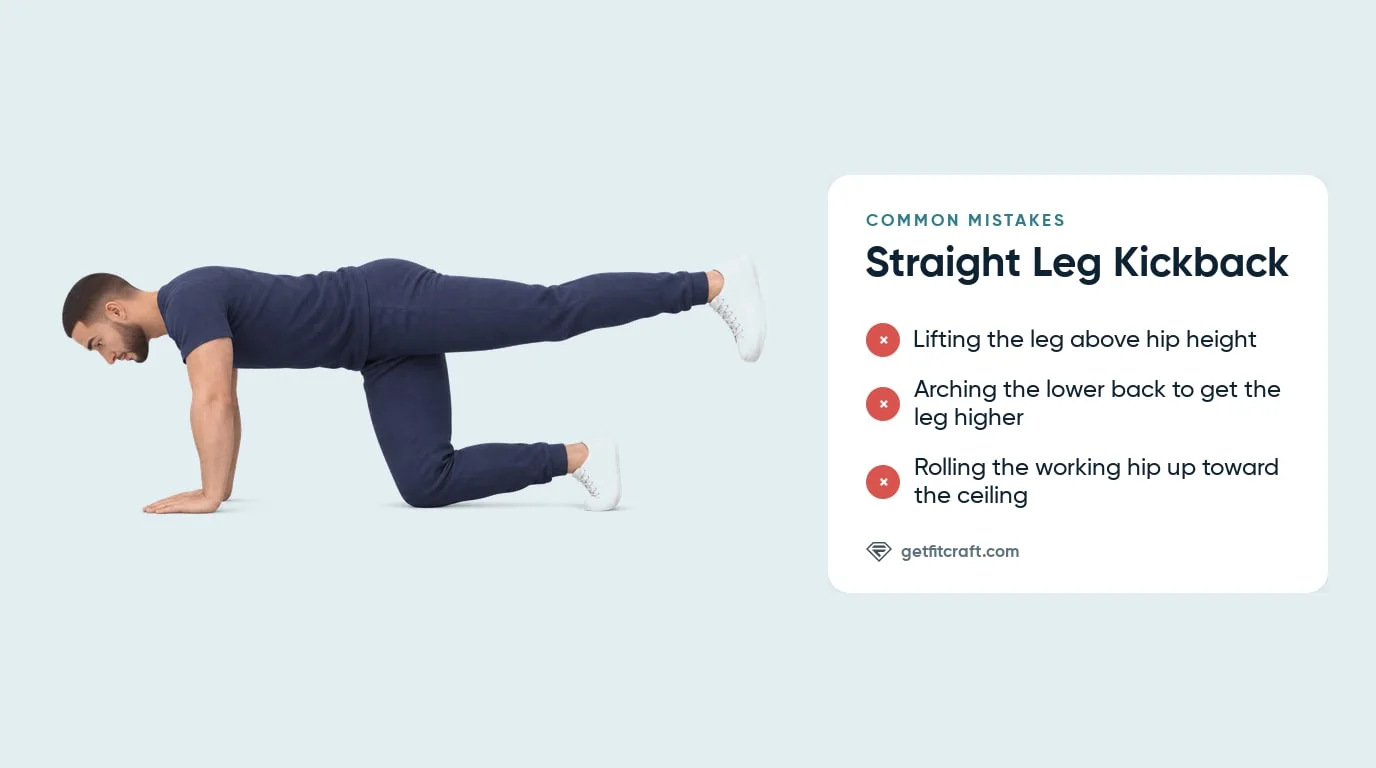
- Lifting the leg above hip height. A higher leg only gets there by arching your lower back. Stop when the leg is about level with your hips and in line with your back.
- Arching the lower back. If your belly drops and your ribs flare, your lower back is creating the extra height. Fix it by lowering the leg and bracing before each rep.
- Rolling the working hip up. Turning the working hip up toward the ceiling moves the lift away from your hip. Keep both hip points level and facing the floor.
- Bending the knee a lot. A small bend is fine, but a deep bend turns the exercise into the bent-knee kickback, an easier exercise of its own. Keep the leg long, even if that means a lower lift.
- Swinging through reps. Momentum makes the rep easier and removes the top-position glute squeeze. Pause briefly at the top and lower with control.
- Letting the head hang or craning it up. Either one pulls your neck out of line with your back. Keep your head in line with your spine, eyes on the floor just ahead of your hands.
- Holding your breath. It is easy to stop breathing while you lift. Breathe out as you lift your leg and in as you lower it, every rep.
Straight Leg Kickback Variations: Regressions and Progressions
Smaller Lift
Lift your leg a little lower, only as high as your back stays flat, even if that is just a few inches. This lets you learn to move from the hip first, with the same setup on your hands and knees.
Bent-Knee Kickback
Keep the working knee bent and lift your thigh back instead, only as high as your back stays flat. The shorter leg is easier to control than the straight-leg version.
Pause Rep Straight Leg Kickback
Hold the top position for about two seconds on each rep, then lower your leg slowly. Use this when the standard version feels controlled and you want a harder rep without adding equipment.
Hover and High-Plank Straight Leg Kickback
For the hover version, lift your supporting knee an inch or two off the floor and hold it there while your other leg reaches back. A high plank on your hands and toes is another harder setup. In both, keep your back flat and your hips level, and lift the leg no higher than your hips.
When to Avoid or Modify Straight Leg Kickbacks
Straight leg kickbacks need no equipment, but if any of the situations below applies to you, check with a doctor or physical therapist before you do them. A burn in your glute or the back of your thigh is normal; stop any rep that causes pain in a joint, your lower back or your neck.
- Lower-back pain with hip extension. See a doctor or physical therapist before you do straight leg kickbacks, and do them only once they clear you. During a set, any pain in your lower back means stop.
- Wrist, shoulder or knee pain. On all fours your hands and one knee carry your weight. If any of these joints hurts, see a doctor or physical therapist before you do straight leg kickbacks. Kneel on a folded mat or towel, and stop if you feel any pain in a wrist, shoulder or knee.
- Acute hip, hamstring, or glute strain. See a doctor or physical therapist first, and do straight leg kickbacks only once they clear you. Any pain during a set means stop.
- Hypermobility or connective tissue disorders. Check with a doctor or physical therapist before you do straight leg kickbacks. Lift the leg no higher than your hips, as everyone should, and stop if you feel any pain in a joint.
- Pregnancy or early postpartum training. Check with your doctor or midwife first. During pregnancy, do straight leg kickbacks only with their go-ahead, and after giving birth wait until your doctor clears you. Stop if you see coning or doming along the middle of your belly, or if you feel pelvic pressure or any pain.
Related Exercises
If straight leg kickbacks fit your routine, these exercises support the same glute, hip, and trunk-control pattern:
- Same hip-extension pattern: Glute Bridges train the glutes lying on your back, an easier option.
- Bent-knee glute option: Donkey Kicks keep the knee bent as the thigh lifts back.
- Core-control pairing: Bird-Dogs teach opposite-arm and opposite-leg control from a stable trunk.
- Plank foundation: Hand Planks and Forearm Planks train the flat-back brace you need for the harder high-plank kickback.
- Hip mobility support: Cat-Cow and Hip Abductor Stretch pair well when hip stiffness limits clean range.
How to Program Straight Leg Kickbacks
For glute strength work, use enough volume to practice control without letting your back arch or your hips tip. The ACSM resistance training position stand gives a useful evidence-based framework for progressing volume and frequency across training levels (Ratamess et al., 2009). The table below gives practical starting ranges for each level.
| Level | Sets × Reps | Rest between sets | Frequency |
|---|---|---|---|
| Beginner (hands and knees, or a smaller lift) | 1-2 × 6-10 per side | 30-60 seconds | 3-5 sessions/week |
| Intermediate (pause at the top, slower lowering) | 2-3 × 8-15 per side | 45-75 seconds | 3-5 sessions/week |
| Advanced (hover or high-plank setup) | 2-4 × 10-20 per side | 60-90 seconds | 3-6 sessions/week |
Where in your workout: use straight leg kickbacks as a glute activation drill before lower-body training, as a no-equipment accessory after squats or hinges, or in a short glute and core session at home. Keep the reps smooth if you use them before heavier work.
Form floor over rep targets: stop the set when your hips rotate, your low back arches, or the leg starts swinging. Cleaner reps beat a larger number with compensation.
How FitCraft Programs This Exercise
FitCraft maps your fitness level, goals, and available equipment, then builds a balanced training plan for your level. The app has the straight leg kickback as a Beginner strength exercise on your hands and knees, one leg per set, with a 3D demonstration.
For a movement like straight leg kickbacks, the useful progression is control first. Use this guide to build up: a smaller lift or the bent-knee version if you need it, then a pause at the top and a slower lowering, then the hover version.
Frequently Asked Questions
What muscles do straight leg kickbacks work?
Straight leg kickbacks mainly work the glutes, with the hamstrings and the transverse abdominis helping. The glutes lift the leg back behind you by straightening the hip, and the hamstrings on the back of the thigh help straighten the hip and keep the knee long. The transverse abdominis, the deep belly muscle, braces your trunk so your back stays flat and your hips stay level while the leg moves.
Are straight leg kickbacks good for beginners?
Yes. The FitCraft app rates the straight leg kickback on hands and knees as a Beginner exercise. If it feels hard, lift your leg a little lower, only as high as your back stays flat, or keep your knee bent as you lift, which is easier to control. Glute bridges on your back are another easier glute exercise.
Can I do straight leg kickbacks with lower-back pain?
See a doctor or physical therapist first, and do straight leg kickbacks only once they clear you. During a set, a burn in your glute or the back of your thigh is normal, but any pain in your lower back means stop.
Why do I feel straight leg kickbacks in my lower back?
You are probably lifting the leg higher than your hip can take it, so your lower back arches to make up the height. Lift the leg only to about hip height, brace your abs so your back stays flat, and reach your heel long behind you instead of up. You should feel the work in your glute and the back of your thigh, not your lower back, and any pain in your lower back means stop.
How are straight leg kickbacks different from donkey kicks?
Donkey kicks keep the knee bent as the thigh lifts back. Straight leg kickbacks keep the knee straight or only softly bent and reach the whole leg long behind you, about level with your hips. In both, the lift comes from the hip and stops before your lower back arches.