The spinal twist is a simple floor stretch that turns your hips while your chest stays facing up. You lie on your back, let one bent knee fall across your body, and keep your shoulders heavy on the floor.
The move works best when it stays gentle. If you yank your knee down or chase the floor, your opposite shoulder lifts and the stretch can turn into a pinch in your low back. Stretch only to mild tension.
Think of it as a breathing drill with rotation built in. Set the position, support the bent knee if needed, and let each exhale make the twist feel less guarded.
Quick Facts: Spinal Twist
- Equipment needed: None (yoga mat, pillow, or bolster optional)
- Difficulty: Intermediate in the FitCraft app; resting the bent knee on a pillow makes it easier
- Modality: Mobility / Static stretch
- Body region: Side body, glutes, back and chest
Areas Stretched & Mobilized
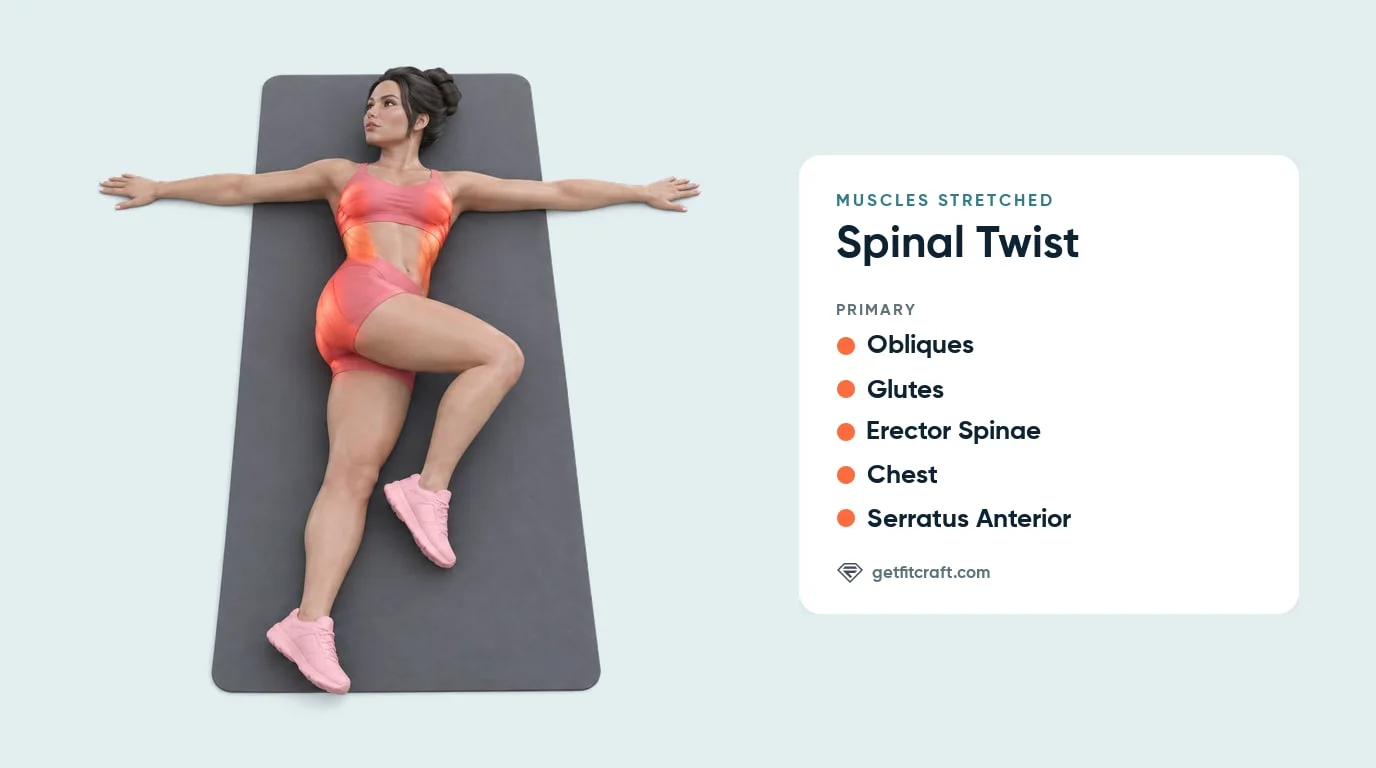
Primary muscles stretched: the obliques, glutes, erector spinae, chest and serratus anterior. As the bent knee crosses your body, the obliques lengthen along your side, and the glute of the crossing leg stretches as that hip draws across your body. The erector spinae, the long muscles beside your spine, lengthen as your lower back turns. Keeping both shoulders on the floor opens the front of the chest, and with your arms resting out to the sides, the serratus anterior along the side of your ribcage lengthens as the twist turns your ribs.
Why the setup matters: the supine position supports the pelvis and lets you adjust the stretch with knee height. More knee drop increases rotation; more support under the knee lowers the intensity. For mobility work, smooth breathing and relaxed tissue tension matter more than reaching the deepest possible position.
How to Do a Supine Spinal Twist (Step-by-Step)
- Start on your back with your legs straight. Lie flat on a mat with both legs straight. Extend your arms out to the sides at shoulder height like a T, palms on the floor. Let your ribs and pelvis feel heavy before you move.
- Bend one knee up to 90 degrees. Bend your right knee and bring it up until your right hip and knee are both at about 90 degrees. Keep your left leg straight along the floor.
Form tip: keep the bottom leg straight on the floor for the whole hold. - Cross the knee over to the left. Exhale and let your bent right knee drop slowly across your body toward the floor on your left. Your right shoulder blade should stay grounded, even if that means your knee hovers well above the floor.
Form tip: if your right shoulder starts to lift, let the knee come up a little or rest it on a pillow. - Turn your head only if it feels good. Gently look toward your right hand, away from the knee, if your neck stays relaxed. If your neck feels tight, keep your gaze straight up. The trunk rotation is the priority.
- Hold, breathe, and switch sides. Relax and breathe slowly at a point of mild tension. Hold for 10 to 30 seconds and repeat to build up about a minute. Inhale to bring your knee back to center and straighten the leg, then repeat with your left knee crossing to the right. Match the time and range on both sides.
Get this exercise in a personalized workout
FitCraft, our mobile fitness app, uses its AI coach Ty to program mobility work like this into your plan at the right volume and intensity, based on your level, goals, and equipment. Ty was designed and trained by Domenic Angelino, MPH (Brown University) and NSCA-CSCS, with research published in the Journal of Strength and Conditioning Research and Medicine & Science in Sports & Exercise.
Take the Free Assessment Free · 2 minutes · No credit card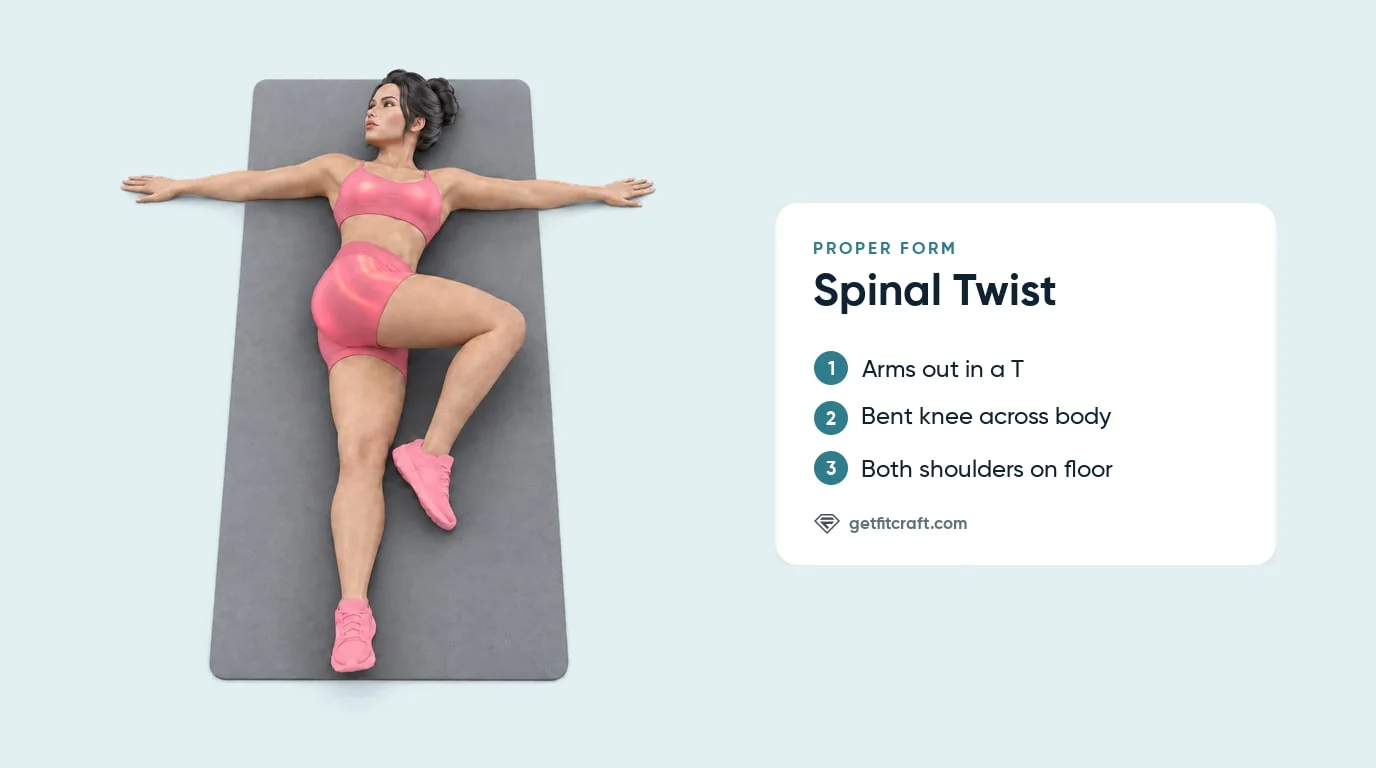
Common Mistakes to Avoid
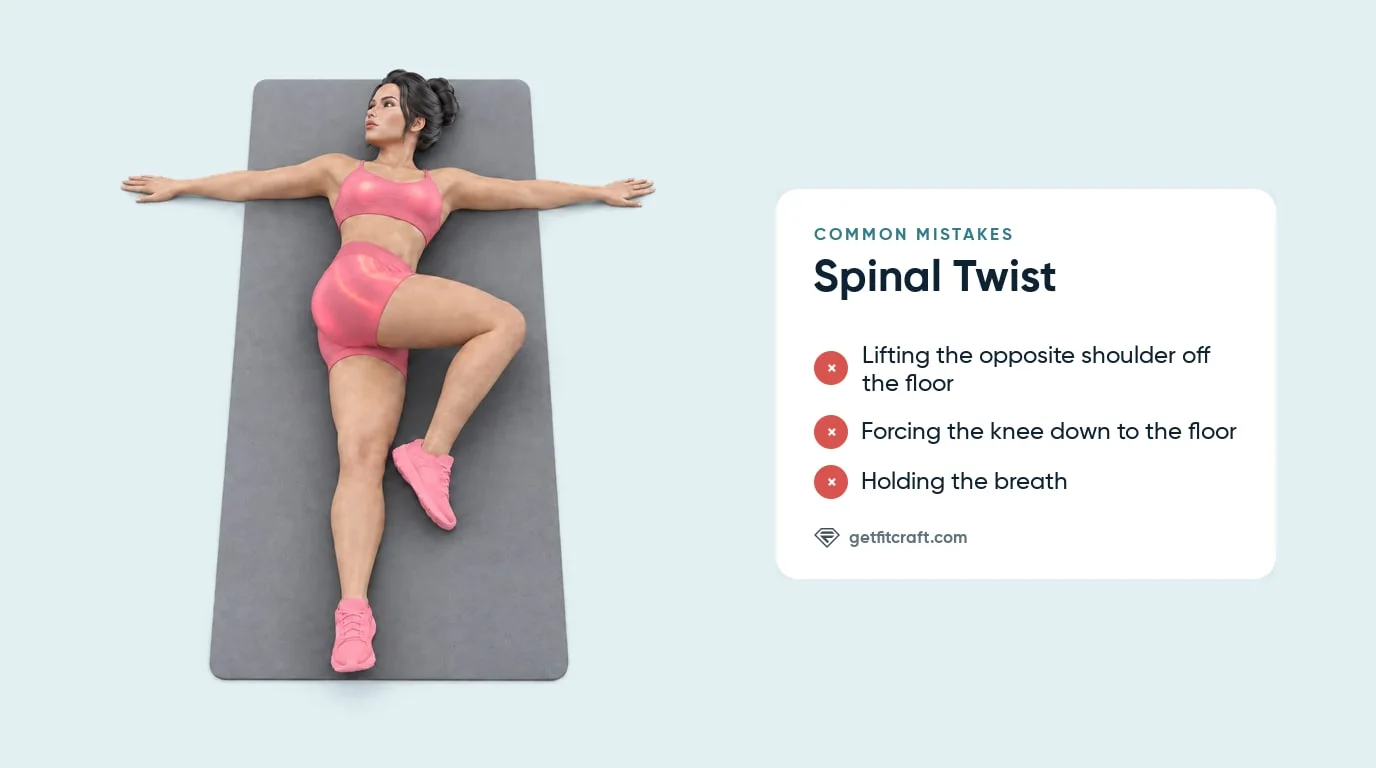
- Chasing knee-to-floor depth. Treat the floor as optional. If your opposite shoulder lifts, support your knee with a pillow or keep it higher.
- Bending the bottom leg. Keep the leg on the floor straight for the whole hold; only the top knee bends.
- Forcing the twist with your abs or hands. This should feel like a relaxed stretch. Let the legs get heavy and use your breath to settle into the position.
- Holding your breath. Breathe slowly and steadily through the whole hold. Holding your breath makes it harder to relax into the stretch.
- Turning the head aggressively. The head turn is optional. If it bothers your neck, look up and keep the stretch in the trunk.
- Ignoring nerve symptoms. Pinching, tingling, numbness, or pain that travels down the leg means the position is too much. Come out of the twist and stop.
Spinal Twist Variations: Regressions and Progressions
Supported Spinal Twist
Place a pillow, bolster, or folded blanket under your bent knee on the side it crosses to. This lowers the stretch intensity and helps both shoulders stay grounded.
Single-Leg Spinal Twist
This is the standard version described above and the one the FitCraft app uses, rated Intermediate: the bottom leg stays straight on the floor and only the top knee, bent to about 90 degrees, crosses your body.
Stacked-Knee Spinal Twist
Lift both knees to roughly 90 degrees, keep them together, and lower them to one side as one unit, still keeping both shoulders on the floor. This both-knees version is an alternative to the one-knee twist.
Eagle-Leg Spinal Twist
Cross one thigh over the other before lowering the knees, and try it only once the standard version feels easy.
Straight-Leg Spinal Twist
Lower the top leg straight across your body instead of bending the knee, with the hip at about 90 degrees. This adds a stretch behind the thigh and should stay pain-free.
When to Avoid or Modify Spinal Twist
Spinal twists are safe for most healthy adults when they stay gentle, but a few situations call for a smaller range or a different drill. Always consult your physician or physical therapist if you're returning after injury, surgery, pregnancy, or nerve symptoms.
- Disc irritation, active sciatica, or radiating symptoms. Avoid deep rotation while symptoms are active. Use cat-cow or bird-dogs if unloaded neutral-spine movement feels better.
- Recent spine, hip, or abdominal surgery. Wait for medical clearance before adding twisting. Rotation can stress healing tissue before it's ready.
- Pregnancy, especially the second and third trimesters. Use a very small range and avoid aggressive end-range twisting near the pelvis and SI joint.
- Hypermobility or connective tissue disorders. Avoid hanging passively at end range. Keep the twist active, short, and supported.
- Low-back or hip pinching. Come out of the twist if your lower back or hip hurts. Next time, support your bent knee, reduce depth, or switch to seated cat-cow until the position feels smooth.
Related Exercises
- Cat-cow: active spinal flexion and extension that pairs well with spinal rotation.
- Quadruped thread-the-needle: a kneeling thoracic rotation drill with more shoulder involvement.
- Standing twists: upright rotation practice with less floor setup.
- Seated side bend: side-body mobility that complements the rib opening in a spinal twist.
- Deadbugs: neutral-spine core control for people who need stability before deeper rotation.
How to Program Spinal Twist
The American College of Sports Medicine's guidance on flexibility exercise (Garber et al., 2011) recommends stretching on at least 2 days a week, holding each stretch for about 10 to 30 seconds to the point of mild tightness, and repeating it to build up about 60 seconds in total per stretch. For a spinal twist, breathing quality and a consistent, comfortable range matter more than how far the knee drops.
| Level | Hold time | Sets | Frequency |
|---|---|---|---|
| Beginner | 10-30 seconds per side, bent knee on a pillow if needed | Repeat to about 60 seconds per side | At least 2 days a week |
| Intermediate | 10-30 seconds per side | Repeat to about 60 seconds per side | At least 2 days a week |
| Advanced | 10-30 seconds per side, or the straight-leg variation | Repeat to about 60 seconds per side | At least 2 days a week |
Where it fits: use spinal twists after training, during a cooldown, before bed, or as a short mobility break after long sitting. If you use them before a workout, keep the holds short and pair them with active mobility like cat-cow.
Form floor over hold time: end the hold early if your shoulder lifts, your breath gets tight, or the stretch turns into nerve symptoms. A supported, relaxed twist beats a forced one.
Frequently Asked Questions
What areas does a supine spinal twist stretch?
A supine spinal twist stretches the obliques along your sides, the glutes of the crossing leg, the erector spinae beside your spine, the chest, which opens as both shoulders stay on the floor, and the serratus anterior along the side of your ribcage. The stretch should feel broad along your side, with no pain in the low back.
Can I do spinal twists with disc pain or sciatica?
Avoid deep spinal twists during active sciatica, disc irritation, recent spine surgery, or symptoms that travel down the leg. Use a smaller range, support your bent knee, and get clearance from a physical therapist or spine clinician before adding rotation back in.
How long should I hold a spinal twist?
Hold a supine spinal twist for 10 to 30 seconds at a point of mild tension, then repeat to build up about 60 seconds per side, the dose in the American College of Sports Medicine's flexibility guidance. Beginners can rest the bent knee on a pillow so the position stays relaxed.
Why does my shoulder lift off the floor in a spinal twist?
Your shoulder lifts when the twist is too deep for your current mobility. Reduce the range by placing a pillow or yoga block under your bent knee. Keeping both shoulders grounded matters more than getting your knee to the floor.
Can I do a spinal twist every day?
Yes, most healthy adults can practice gentle spinal twists daily. Keep the effort low, breathe slowly, and stop if you feel any pain, pinching, numbness, or pain that spreads down a leg, or if symptoms worsen after the stretch.