The reach up is a bent-knee sit-up in which you curl up from lying on your back and reach both hands forward past your knees. It works the rectus abdominis, the six-pack muscle, and the hip flexors at the front of your hips, with the anterior deltoids at the fronts of your shoulders holding your arms up. The defining cue is simple: keep your feet flat and free, reach your hands past your knees, a little above shoulder height, then lower slowly until your shoulders touch the floor. The FitCraft app rates it Advanced. Make it easier with crunches or by sitting up a little less high. Make it harder by crossing your arms on your chest, reaching overhead in line with your ears, or taking about three seconds to lower.
Unlike a plank, which holds your body still, a reach up moves your spine. You curl up and lower back down while your arms reach forward.
The exercise is a bent-knee sit-up with a forward reach. You curl up from the floor until your hands reach past your knees, then lower with control until your shoulders touch down. Holding your arms up in front gives the fronts of your shoulders a small job, but your abs and hip flexors drive the rep.
Quick Facts: Reach Ups
- Equipment needed: Bodyweight; exercise mat optional
- Difficulty: Advanced (as rated in the FitCraft app); crunches or a smaller sit-up make it easier
- Modality: Core strength
- Body region: Abs and the front of the hips, with the fronts of the shoulders helping
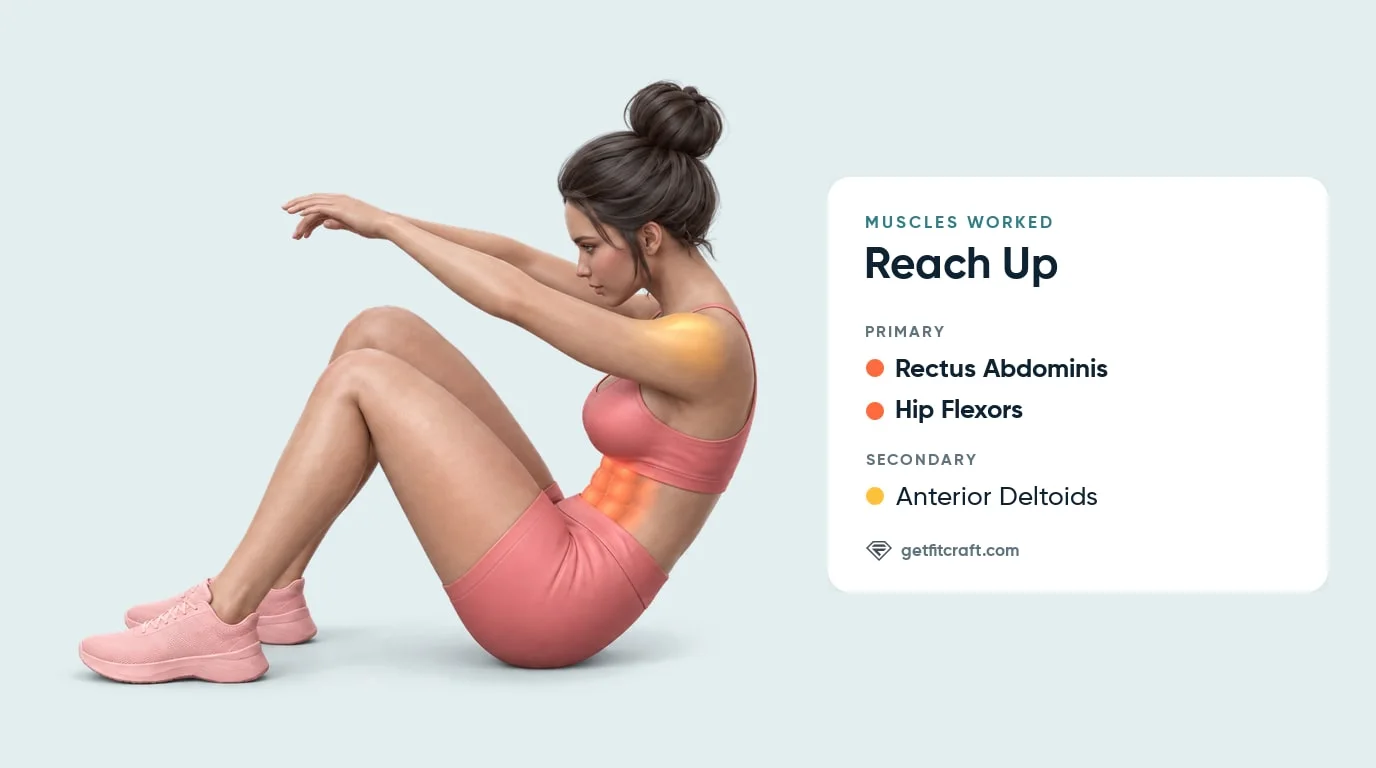
Muscles Worked
Primary muscles: the rectus abdominis and the hip flexors. The rectus abdominis, the six-pack muscle at the front of your stomach, shortens as you curl your ribs toward your pelvis on the way up, then lengthens under control as you lower back to the floor. The hip flexors, at the front of your hips, pull your trunk up once you pass the crunch range and sit up toward upright.
Secondary muscle: the anterior deltoids, the fronts of your shoulders. They hold your arms raised in front of you for the whole rep and reach them forward past your knees at the top.
Why your feet stay free: hooking your feet under a couch or having someone hold them shifts work away from your abs and toward your hip flexors. Keep your feet flat on the floor and free, and if they lift, make the move easier instead of anchoring them.
Step-by-Step: How to Do a Reach Up
- Set your starting position. Lie on your back on a mat with your knees bent and your feet flat on the floor, about hip-width apart and free, not hooked under anything. Raise both arms up and forward toward your knees with the elbows softly bent, so your hands sit above your belly, and rest your head and upper back on the floor.
- Breathe out and curl up. Brace your midsection and breathe out as you lift your head, then your shoulders, then your back off the floor. Keep a small space between your chin and chest and let your abs lift you, not your head.
- Sit up and reach past your knees. Sit up most of the way, until your trunk is well past halfway to upright and your hands reach forward past your knees, a little above shoulder height. Keep your feet flat and move smoothly, with no jerk or arm swing. A little higher is fine as long as your feet stay down.
- Lower with control. Breathe in and lower back down one part of the back at a time, over about one to three seconds. Never drop back to the floor.
- Touch down and repeat. Lower until your upper back and shoulders touch the floor. You can rest your head for a moment, then curl up again while your feet stay flat.
Get this exercise in a personalized workout
FitCraft, our mobile fitness app, uses its AI coach Ty to program core stability work like this into your plan at the right volume and intensity, based on your level, goals, and equipment. Ty was designed and trained by Domenic Angelino, MPH (Brown University) and NSCA-CSCS, with research published in the Journal of Strength and Conditioning Research and Medicine & Science in Sports & Exercise.
Take the Free Assessment Free • 2 minutes • No credit card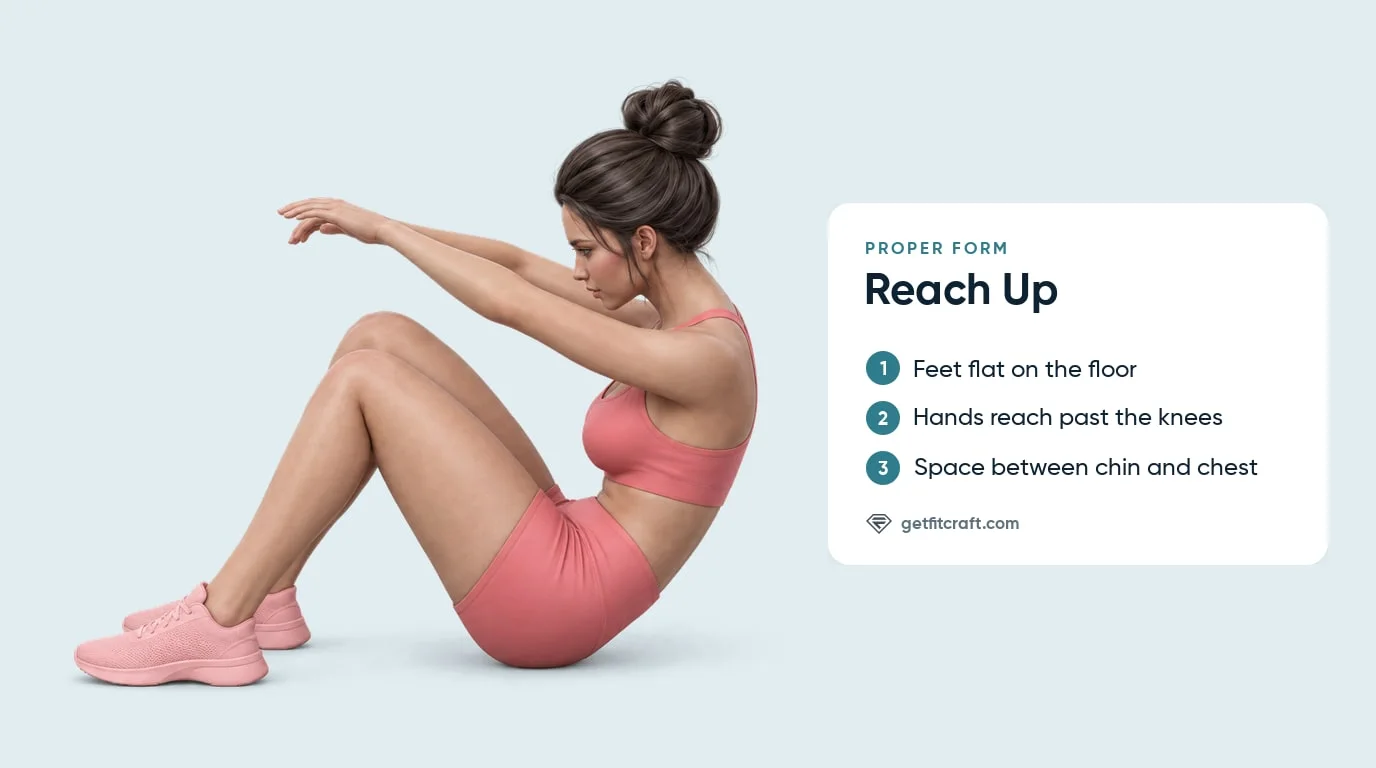
Common Mistakes (And How to Fix Them)
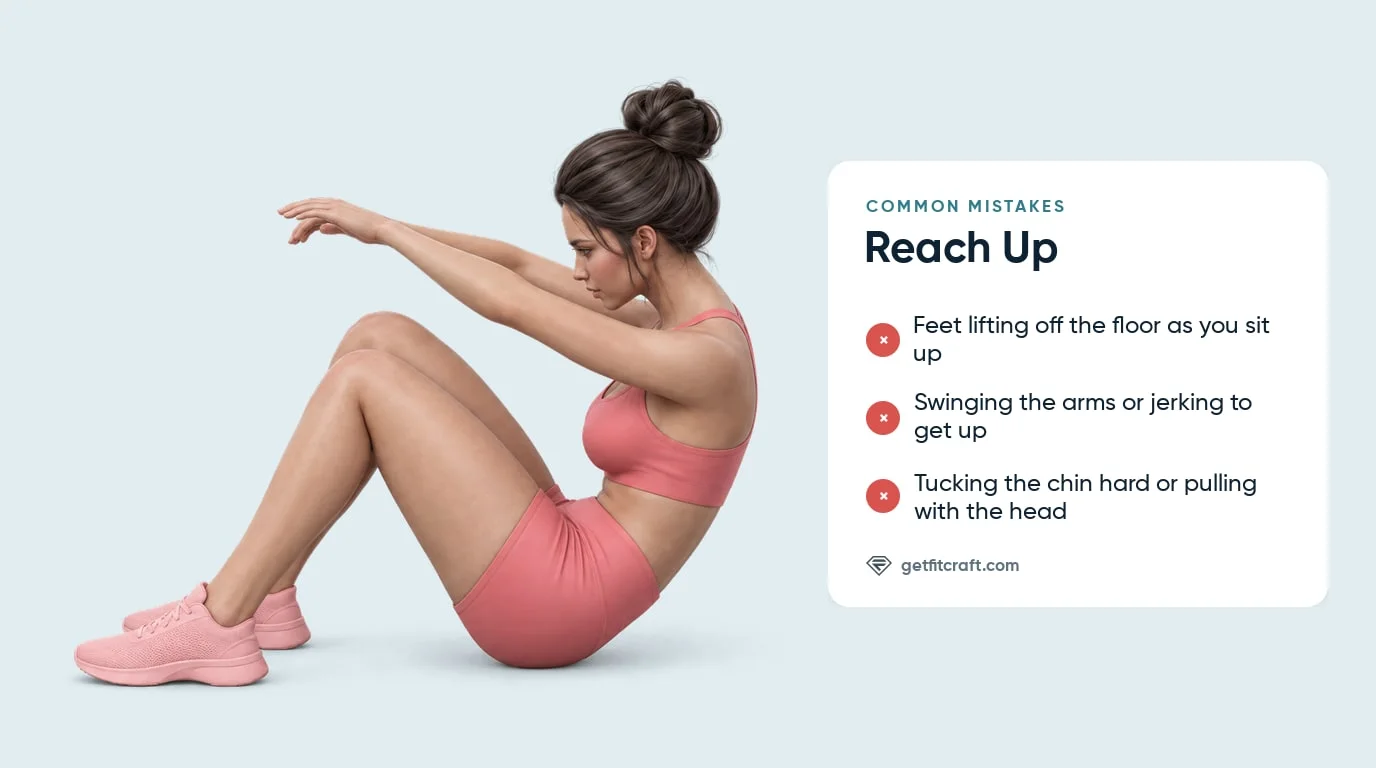
Feet Popping Off the Floor
What it looks like: Your heels come up as you sit up, or your toes leave the ground near the top.
Why it's a problem: If your feet lift, your abs are not controlling the sit-up yet.
The fix: Press your heels into the floor before every rep and slow down. If they still lift, switch to crunches for now. Don't hook your feet under anything to keep them down.
Dropping Back Down Fast
What it looks like: You reach at the top, then let gravity pull you back to the floor.
Why it's a problem: Dropping skips half the rep. Your abs should control the way back to the floor.
The fix: Lower over one to three seconds, one part of your back at a time, until your shoulders touch. End the set once you can't control the way down.
Yanking With the Arms
What it looks like: You fling the arms forward to pull your torso off the floor.
Why it's a problem: Your abs should lift you. Your arms only reach.
The fix: Start the rep by curling the ribs toward the pelvis. Add the reach after your trunk is already moving.
Straining the Neck
What it looks like: Your chin jams into your chest, or your head reaches forward before the torso moves.
Why it's a problem: Pulling with your head strains your neck and takes the work away from your abs.
The fix: Keep a small space between chin and chest. Imagine the head riding with the rib cage instead of leading the rep.
Hooking Your Feet Under Something
What it looks like: You tuck your feet under a couch, a bar or a partner's hands so you can sit up.
Why it's a problem: Anchored feet let the hip flexors take over more of the lift and the abs do less.
The fix: Keep both feet flat and free on the floor. If you can't sit up that way yet, do crunches or sit up a little less high.
Holding Your Breath
What it looks like: You hold your breath as you strain to sit up.
Why it's a problem: The reach up should stay smooth and steady, with your breath moving the whole time.
The fix: Breathe out as you curl up and reach, and breathe in as you lower back down.
Chasing Reps After Form Breaks
What it looks like: The first few reps are crisp, then the set turns into fast half-reps.
Why it's a problem: Reps only count when you curl up and lower with control.
The fix: End the set when your lowering speeds up. Add reps only when every descent stays smooth.
Reach Up Variations: Regressions and Progressions
Easier (Regression)
- Crunches. Lift only your head and shoulder blades off the floor, then lower slowly. The FitCraft app rates the crunch Intermediate.
- Partial crunch. Lift just your head and the tops of your shoulders. The app rates it Beginner.
- Smaller reach up. Sit up a little less high, only until your hands reach your knees, and take your time.
Standard
- Reach up. Sit up most of the way with your hands reaching forward past your knees, your feet flat and free, and lower over one to three seconds. This is the version the FitCraft app rates Advanced.
Harder (Progression)
- Arms crossed. Cross your arms over your chest instead of reaching forward.
- Overhead reach. Reach your arms overhead, in line with your ears, as you sit up. The higher your arms, the harder the sit-up.
- Slow lowering. Keep the same movement, but take about three seconds to lower, one part of your back at a time.
- Teaser hold. Balance on your seat with your legs raised nearly straight and your arms reaching forward, and hold it. The app rates it Expert.
When to Avoid or Modify Reach Ups
Reach ups are safe for many healthy adults, but they load the trunk through repeated spinal flexion. A burn in your abs or the front of your hips is normal; any pain in your lower back, your neck or another joint means stop right away. Always consult your physician or a qualified physical therapist before starting or returning to exercise if you have pain, a medical condition, or a recent change in health status.
- Acute lower-back pain or known disc problems. Have it assessed by a doctor or physical therapist before you do sit-ups of any kind, and ask them which core exercises suit you. Any lower-back pain during a set means stop.
- Recent childbirth or diastasis recti. Get clearance from your doctor or a pelvic-floor physical therapist before sit-ups, and ask them when and how to return to core training.
- Recent abdominal surgery. Get clearance after C-section, hernia repair, appendectomy, or any surgery that involved the abdominal wall, and ask your surgeon when and how to return.
- Hernia symptoms. Have them checked by a doctor before you do sit-ups, and ask which core exercises suit you.
- Pregnancy. Ask your doctor or midwife whether sit-ups suit you at your stage of pregnancy and which core exercises to do.
- Pelvic-floor dysfunction or pelvic-organ prolapse. Work with a pelvic-floor physical therapist and ask them whether sit-ups suit you before you do them.
Related Exercises
- Easier version: Crunches train the same curl-up without a full sit-up.
- Legs-up version: Leg raises train the rectus abdominis and hip flexors by lifting your legs instead of your trunk.
- Steady-back basics: Deadbugs teach you to keep your lower back steady before harder sit-ups.
- No curl-up: Bird-dogs train you to keep your back steady without curling your spine.
- Holding version: Hollow holds train your abs to hold a curled position.
- Hold-still core: Forearm planks train your abs to hold your body still in a straight line.
How to Program Reach Ups
Ratamess et al., 2009, the ACSM position stand on resistance training progression, supports matching sets, reps, rest, and frequency to training status. For reach ups, add reps only while every rep stays smooth and controlled.
| Version | Sets x Reps | Rest between sets | Frequency |
|---|---|---|---|
| Easier (crunches or a smaller reach up) | 2-3 x 8-12 | 45-60 seconds | 2-4 sessions/week |
| Advanced (the standard reach up, as rated in the FitCraft app) | 3 x 10-20 | 45-60 seconds | 3-5 sessions/week |
| Harder (arms crossed or overhead, about three seconds down) | 3-4 x 10-20 | 60 seconds | 3-4 sessions/week |
Place reach ups near the end of a resistance-training session, in a core block or as a finisher. Do them after your main lifts, not before.
Good form matters more than the rep target. Stop the set when your feet lift, your neck strains, or your descent speeds up, and stop right away at any pain in your lower back or neck.
How FitCraft Programs This Exercise
Knowing how to do reach ups is step one. Knowing when to use them, how many reps to do, and when to progress is where most people get stuck.
FitCraft uses your free assessment to map your level, goals, and available equipment, then builds a balanced training plan. The app has one reach up, rated Advanced, with a 3D demonstration, and it also has the crunch (Intermediate) and the partial crunch (Beginner) as easier ab exercises.
Frequently Asked Questions
What muscles do reach ups work?
Reach ups work two main muscles: the rectus abdominis, the six-pack muscle at the front of your stomach, and the hip flexors at the front of your hips. The abs curl your spine up and control the way down, and the hip flexors pull your trunk up once you pass the crunch range. The anterior deltoids, the fronts of your shoulders, help by holding your arms raised in front of you the whole rep.
How are reach ups different from sit-ups?
A reach up is a bent-knee sit-up with your arms reaching forward past your knees as you come up. You sit up most of the way rather than fully upright, and your feet stay flat and free instead of hooked under something. Reaching forward is the easiest arm position for a sit-up; crossing your arms on your chest or reaching overhead in line with your ears makes it harder.
Are reach ups good for beginners?
The FitCraft app rates the reach up Advanced. If you can't sit up without your feet lifting, jerking, or pulling with your head, start with crunches or partial crunches, or sit up a little less high, only until your hands reach your knees.
How many reach ups should I do per set?
Start with 2 to 3 sets of 8 to 12 and build toward 3 sets of 10 to 20 controlled reps. Lower over one to three seconds on every rep, never dropping, and add reps only while your feet stay flat and your neck stays relaxed.
Can I do reach ups with lower-back pain?
Not while your back hurts. Any lower-back pain during a reach up means stop right away. If you have lower-back pain or a known disc problem, see a doctor or physical therapist before doing sit-ups of any kind, and ask them which core exercises suit you.